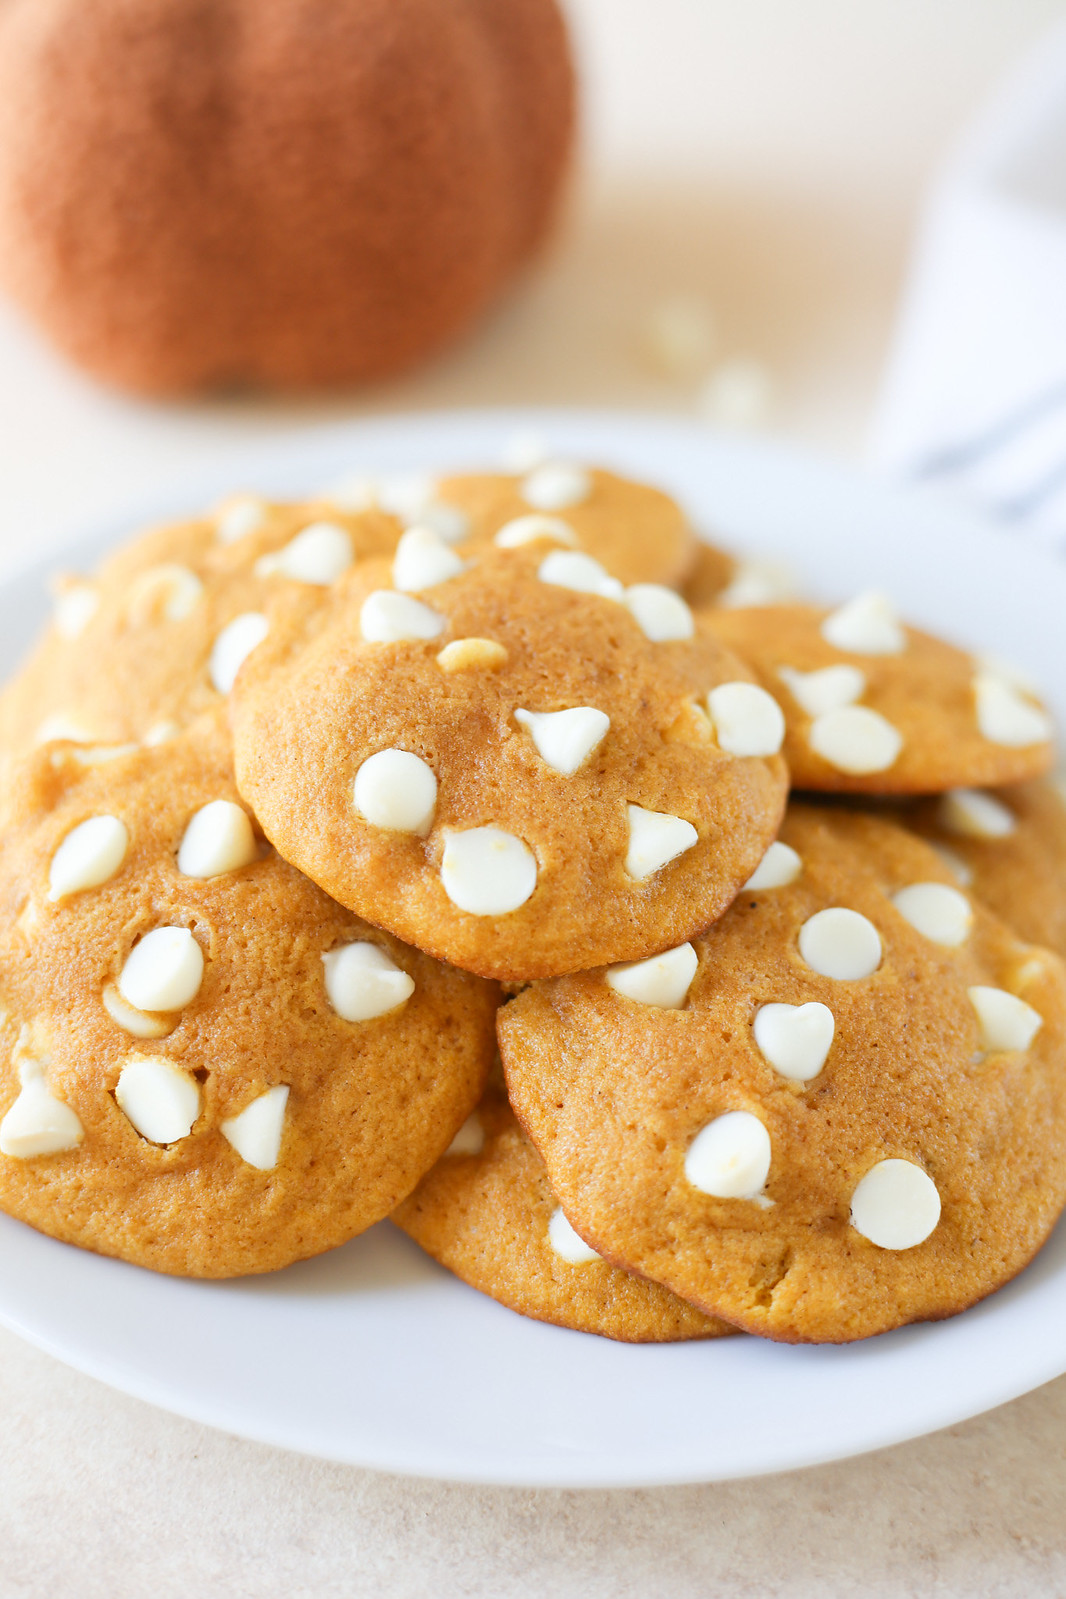
Peppermint Cookies: A Cool, Chocolatey Treat
Peppermint cookies bring together the refreshing taste of mint and the cozy richness of chocolate. They’re especially popular during the holidays, but their crisp peppermint flavor makes them a welcome treat any time of year. Add crushed candy canes for a festive crunch, or dip the finished cookies in melted chocolate for an extra-special touch.
Chocolate Peppermint Cookie Recipe
These soft, chewy cookies have a rich cocoa base and a hint of peppermint. The recipe makes about 24 cookies.
Ingredients
- 1 ½ cups all-purpose flour
- ⅓ cup unsweetened cocoa powder
- ½ teaspoon baking soda
- ¼ teaspoon salt
- ½ cup unsalted butter, softened
- ¾ cup granulated sugar
- 1 large egg
- 1 teaspoon vanilla extract
- ¼ teaspoon peppermint extract
- ¾ cup semisweet chocolate chips
- ⅓ cup crushed peppermint candies or candy canes
Instructions
- In a medium bowl, whisk together the flour, cocoa powder, baking soda, and salt.
- In a separate bowl, beat the softened butter and sugar until light and creamy. Mix in the egg, vanilla extract, and peppermint extract.
- Gradually add the dry ingredients to the butter mixture, mixing just until combined. Fold in the chocolate chips.
- Cover the dough and chill it for 30 minutes. Chilling helps the cookies hold their shape as they bake.
- Heat the oven to 350°F. Line baking sheets with parchment paper.
- Scoop the dough into tablespoon-size portions and arrange them about 2 inches apart. Sprinkle the tops with crushed peppermint candies, gently pressing them into the dough.
- Bake for 9–11 minutes, until the edges are set and the centers still look slightly soft. Let the cookies cool on the baking sheet for 5 minutes, then transfer them to a wire rack.
Tips for Great Peppermint Cookies
- Measure the peppermint carefully. Peppermint extract is concentrated, so a little goes a long way. Too much can overpower the chocolate.
- Add candy after baking for extra crunch. If you prefer the peppermint pieces to stay bright and crisp, press them onto the cookies as soon as they come out of the oven.
- Try a chocolate finish. Once the cookies are completely cool, drizzle them with melted chocolate or dip half of each cookie into it.
- Store them airtight. Keep the cookies in an airtight container at room temperature for up to five days. For the best texture, store them separately from strongly flavored foods.
Peppermint cookies are easy to customize and fun to share. Enjoy them with hot cocoa, coffee, or a glass of cold milk—or package a few as a homemade gift for someone who loves the classic chocolate-and-mint combination.
9 Tips for Perfect Peppermint Cookies
- Use peppermint extract sparingly; it’s strong.
- Crush candy canes for a festive topping.
- Chill dough to help cookies hold their shape.
- Pair peppermint with dark chocolate.
- Add crushed candies after baking for crunch.
- Use parchment to prevent sticking.
- Avoid overbaking for soft centers.
- Store cookies in an airtight container.
- Let cookies cool before adding icing.
Use peppermint extract sparingly; it’s strong.
Use peppermint extract sparingly when making peppermint cookies because its flavor is highly concentrated and can quickly overpower the chocolate and other ingredients. Start with a small amount, then adjust carefully if needed—the goal is a cool, balanced mint flavor, not a harsh or medicinal taste.
Crush candy canes for a festive topping.
Crushed candy canes make a festive, minty topping for peppermint cookies, adding bright color and a satisfying crunch. Sprinkle the pieces over the cookies just before baking, or press them onto the cookies while they’re still warm to help them stick. For the best texture, crush the candy canes into small pieces rather than powder.
Chill dough to help cookies hold their shape.
Chilling peppermint cookie dough before baking helps the butter firm up, so the cookies spread less in the oven and hold their shape. It also gives the flavors time to meld, making each bite even more delicious. For best results, cover the dough and refrigerate it for about 30 minutes before baking.
Pair peppermint with dark chocolate.
Pair peppermint with dark chocolate for a delicious balance of cool, refreshing mint and deep, bittersweet cocoa. The dark chocolate keeps peppermint cookies from tasting overly sweet, while the mint brightens the chocolate’s rich flavor. Try folding dark chocolate chunks into the dough, drizzling melted chocolate over cooled cookies, or dipping half of each cookie in dark chocolate for an extra-indulgent finish.
Add crushed candies after baking for crunch.
For peppermint cookies with a satisfying crunch, sprinkle the crushed candies on right after baking. Press them gently into the warm cookies so they stick without melting too much. This helps the peppermint pieces keep more of their crisp texture and adds a festive finish to every bite.
Use parchment to prevent sticking.
Line your baking sheet with parchment paper before adding the peppermint cookie dough. It helps prevent sticking, makes the cookies easier to lift off after baking, and cuts down on cleanup. Allow the cookies to cool for a few minutes on the sheet before transferring them, since warm cookies can be delicate.
Avoid overbaking for soft centers.
For soft, tender centers, take peppermint cookies out of the oven when the edges look set but the middles still appear slightly underdone. They’ll continue baking on the hot sheet as they cool, giving you chewy cookies without dry, crumbly centers.
Store cookies in an airtight container.
Store peppermint cookies in an airtight container at room temperature to help keep them soft, flavorful, and fresh. Let the cookies cool completely before packing them so trapped heat doesn’t create excess moisture. For the best taste and texture, enjoy them within a few days.
Let cookies cool before adding icing.
Let the peppermint cookies cool completely before adding icing. Warm cookies can melt or thin the icing, making it run off instead of forming a neat, even layer. Once cooled, the icing will set more smoothly, giving your cookies a polished finish and making them easier to decorate or stack.